
Wedding Website Photos: What to Choose for Nikah and Walima
Choose a purposeful photo selection for your Nikah or Walima website, with three sample plans, crop checks and a copyable designer handover.
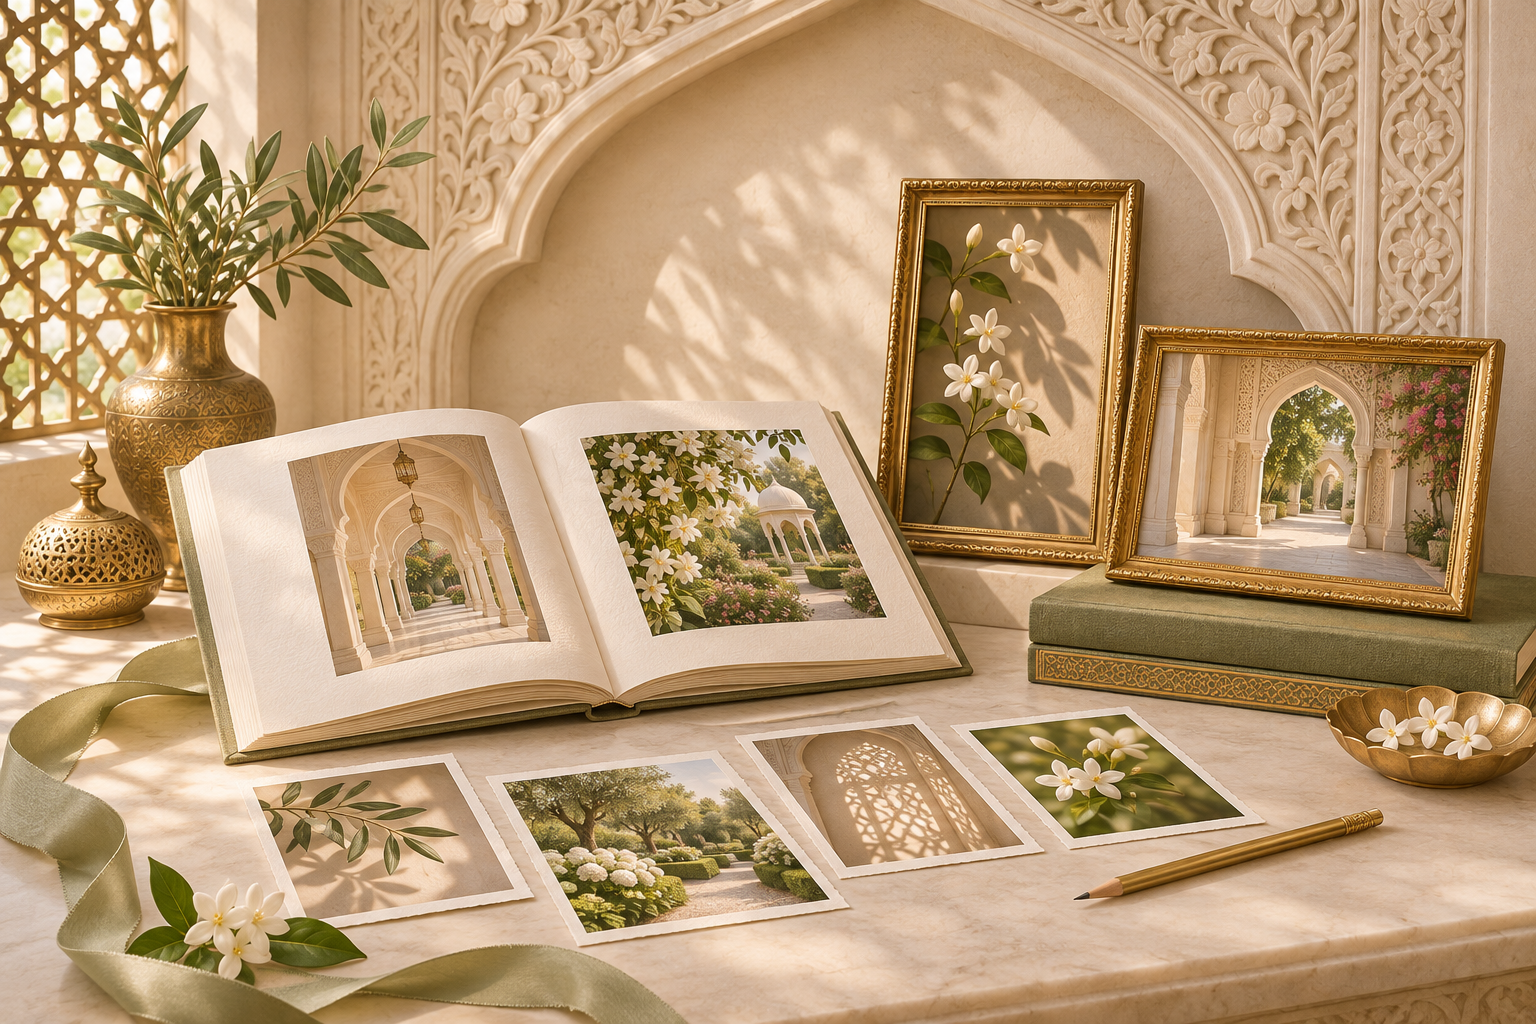
Choose wedding website photos by placement, not by filling a gallery
For a Nikah or Walima wedding website, choose the photographs that fit the actual photo spaces in your design and that both of you are happy to share. A clear opening portrait, an optional family image and a small selection of meaningful moments may be enough. There is no photo count that every wedding website needs to reach.
Start with the live design preview, not a folder containing every photograph from your shoot. Note which placements are portrait, landscape, circular or full-width. Then select an image for each supported placement. This avoids the common problem of approving a favourite photograph and discovering later that the phone crop cuts out one person.
This guide is about selecting photographs for the invitation website before the wedding. It is not a guide to guest photo uploads or a promise that every design includes a large gallery.
Make a simple photo-placement list first
Before sending files, write one line for each place you want a photograph to appear. For example:
- Opening: one photograph of the couple, with both faces visible in the phone preview.
- Family introduction: one approved family portrait, only if that section supports a photograph.
- Our Story: one image for each milestone you have actually chosen to describe.
- Gallery: a short, optional selection of different moments, if the agreed design includes it.
Treat that as a draft plan rather than an order to add new sections. If the selected design has two photo spaces, a carefully chosen pair is more useful than insisting on a twelve-picture gallery. If you want extra placements, discuss the layout and scope before preparing the whole collection.
Noor's wedding website collection supports photographs in selected placements and provides a private draft for review. The number, crop and arrangement should be checked in your chosen design; they are not interchangeable across every invitation.
Give each shortlisted photograph a clear job
Instead of asking whether a picture is beautiful in isolation, ask what it contributes to the invitation. Use these three original selection labels when reviewing your folder together.
Introduce us
Choose a frame where guests can recognise both of you at the size it will actually appear. An atmospheric photograph with the couple tiny in the distance can be a lovely supporting image but may be less useful as the main introduction.
For separate portraits, approve both together. Check whether the lighting, framing and scale feel balanced. Equal prominence does not require identical outfits or poses, but it does require avoiding an accidental layout where one person is a small background detail.
Explain a moment
If a photograph accompanies a short story, the connection should make sense. An engagement image can accompany that milestone; a family gathering can accompany a welcome from the families. Do not invent a romantic anecdote to justify a photograph.
You can also keep the words simple: “A favourite moment from our engagement” is enough when that description is true. Our Our Story wording guide offers approaches for couples who want a short introduction rather than a long relationship timeline.
Add atmosphere
A flower detail, a meaningful setting or an approved photograph of an object can provide a visual pause. Keep it distinct from practical information. A decorative palace photograph should not appear to identify your wedding venue unless it really is that venue.
If two images do the same job, choose the stronger one. You can keep the other privately without making the invitation incomplete.
Three photo plans you can adapt
These are editorial examples, not fixed package limits or requirements.
A minimal couple introduction
Use one opening portrait and one different supporting photograph. The first introduces you; the second adds a relaxed moment further down the page. Leave the Nikah and Walima details easy to find between them.
This plan suits a compact invitation or a couple who want a little photography without turning the site into an album. Ask whether both placements exist in the selected design before finalising the files.
A family-led invitation
Use an approved couple photograph and, where supported, separate family images alongside the relevant introductions. Confirm who belongs in each frame and which names should accompany it. Do not assume everyone in a group photo has agreed to appear on a shareable invitation.
If one family prefers not to use photographs, solve that through the design rather than pressuring them to match the other side. Typography, florals or a monogram can give both introductions equal care.
A short visual story
Choose a few genuinely different moments and arrange them in an order you can explain in one sentence. For instance: an approved engagement portrait, a relaxed photograph from another occasion and a detail image with personal meaning.
Do not add every pose from the same shoot simply because the colour grading matches. The sequence should still feel deliberate when viewed as small thumbnails. Confirm gallery support before treating this plan as part of the website brief.
Check the crop before approving the photograph
A good source image is not automatically a good fit for every frame. Ask to see the actual desktop and phone placements rather than approving only the uncropped file.
For a tall opening frame, check whether the subjects are too far apart. For a wide image, check that heads and important clothing details have enough room around them. For a circular portrait, check the face inside the circle, not just inside the original rectangle.
Use a precise correction rather than “make this photo better.” For example:
- “Please keep both faces visible in the phone crop.”
- “Use the wider frame for this group photo rather than cropping out the people at the edges.”
- “This portrait should sit beside the name, not underneath text that covers the face.”
If the crop cannot work cleanly, replace the image or discuss a different placement. Stretching a photograph to fill a frame distorts it; adding more sharpening will not fix a poor crop.
Prepare a small, clearly labelled handover
Send the best available original image files through the delivery method agreed with your designer. A screenshot of a photographer's preview is not the same as the original delivered photograph. If you only have previews, say so and ask whether the website can be prepared with a temporary placement while you wait.
Use simple filenames that describe the intended position, such as 01-opening-couple, 02-family-introduction and 03-story-engagement. Keep an unedited source copy. If you provide a cropped reference, label it as a crop reference so it is not mistaken for the only available file.
Add a short note for each image:
- Intended placement and order.
- Any people or details that must not be cropped out.
- Exact caption, or “no caption.”
- Whether the couple and anyone featured have approved its use.
- Whether it is final or awaiting a replacement.
The aim is to remove guesswork, not to create a complicated production spreadsheet. One small approved folder and one matching note are easier to review than several chats containing different edits of the same image.
Decide what should remain private
Discuss photographs with the people featured before they become part of a link that relatives may forward. A family photo shared in a private chat is not automatically approved for an invitation website. Be especially careful with children's photographs and identifying captions; omission is a valid choice when permission or comfort is unclear.
Check your photographer's agreed usage terms before using professional images, and ask them if anything is uncertain. This is a preparation step, not a claim that a particular permission rule applies to every contract.
A hidden gallery, password, download restriction or private guest album should never be assumed. Ask what the actual setup supports. Our invitation privacy guide covers what to consider when a wedding link travels beyond the original recipient.
Review the finished website, not just the photo folder
Open the private draft on a phone and work through this short check:
- Can you recognise the subjects without zooming into the page?
- Are faces and important details intact in each crop?
- Do photographs match the correct names and captions?
- Can a guest reach the Nikah or Walima date, venue and RSVP without working through the entire gallery?
- Are temporary images and duplicate versions gone?
- Does the invitation remain usable while images load on an ordinary connection?
- Have both partners approved the final visible selection?
For connection testing, use the practical checks in our mobile-data invitation guide. A photo count alone does not predict performance: image preparation, layout and the way the site loads media also matter.
Frequently asked questions
How many photos should we put on our wedding website?
Use as many as the agreed design needs to introduce you and support the story you want to share. Begin with the actual photo placements, choose one strong image for each, and add a gallery only if it serves a purpose. There is no universal minimum or ideal number.
Do we need a pre-wedding photoshoot?
No. Suitable photographs you already have can be enough, subject to quality, permission and the layout. If you prefer not to use couple photographs, consider the alternatives in our website without couple photos guide.
Can we send our whole shoot and let the designer choose?
You can ask whether selection help is included, but first remove images you do not want published and identify your favourites. The designer can judge composition; only you can confirm personal comfort, family preferences and which moments belong in your invitation.
Is a website photo section the same as a guest-upload album?
No. Displaying photographs supplied for the invitation and allowing guests to upload their own images are different functions. Confirm any guest-upload, moderation, storage or privacy requirements separately rather than assuming they come with a photo section.
What if our final photographs are not ready?
Tell the designer which files are pending and ask what can be prepared now, what a later replacement involves, and whether it changes the agreed scope or timeline. Do not approve a temporary image as final if you already know it needs replacing.
A copyable photo brief for your designer
- Chosen design: [name or preview link]
- Photo placements confirmed: [list]
- Approved files and order: [filenames]
- Essential crop instructions: [details]
- Captions: [approved text or none]
- Photos still pending: [files and expected availability]
- People and usage approvals checked: [yes / items to resolve]
- Final photo reviewer: [name]
Bring this short brief to your Noor wedding website enquiry. Confirm the supported placements first, then build a selection that feels personal without hiding the information your guests came to find.
Explore Noor’s four wedding website samples.
Open each live sample, compare the experience and ask us which design fits your celebration.
Two more useful reads.
 01
Your Muslim wedding website checklist
The names, timings, family details, venue information and photographs to gather before making your Muslim wedding website.
Read the guide → 02
Thoughtful wording for Nikah and Walima invitations
Practical Muslim wedding invitation wording for family introductions, Nikah details, Walima invitations and a warm guest welcome.
Read the guide →